Assignment 2: Move Tool
For this assignment we used the move tool. Each part of the person, like feet, pants, hair, eyes, hat… etcetera, was its own layer so that you could move each layer one at a time. After I put the parts in the right place, I flattened the image and made it all one layer. This tool helped me to know how to combine multiple layers into one, and make a picture completely different than how it was originally.
No commentsAssignment 1: Adjusting Your Photo
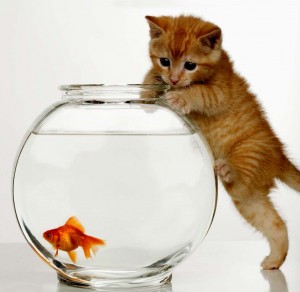
^^Original Photo^^^
This photo has no changes to it.
^^^Brightness Contrast^^^
With this photo I adjusted the Brightness which intensified the color.
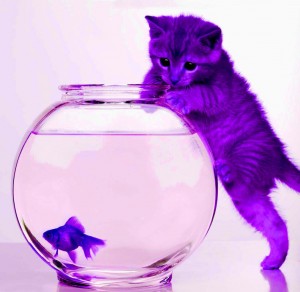
^^^Hue Sateration^^^
With this photo, I added Hue Saturation, which changed all colors to a shade of purple.
^^^Desaurate^^^
I desaturated this photo which replaced the colors with different shades of gray.
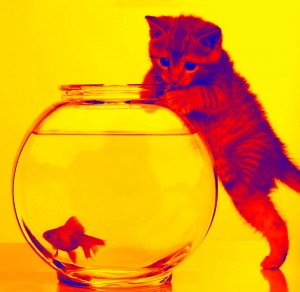
^^^Gradient Map^^^
I used the Gradient Map tool on this photo and selected three colors to replace the other colors.
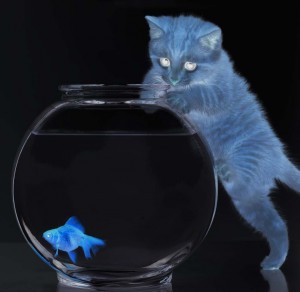
^^^Invert^^^
For this one I used the invert tool which changed the colors and made them darker.
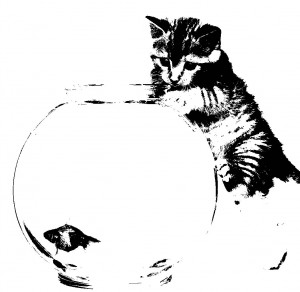
^^^Threshold^^^
And on this one I used the Threshold tool which took away all color and switched it with intense black and white.
1 comment


